How To Take Down A Ceiling Fan Without Screws

How To Remove A Hampton Bay Ceiling Fan Youtube

Quick Ceiling Fan Makeover Simply Remove The Shades And Screws And Use Edison Bulbs For A More Modern Indus With Images Ceiling Fan Makeover Bronze Ceiling Fan Fan Light
How To Install The 52 In Blair Ceiling Fan By Hampton Bay Youtube
How To Install The Channing Hunterexpress By Hunter Fan Company Youtube

Diy Ceiling Fan Makeover Add Cage Bulb Guards And Edison Bulbs John Took Fan Down And I Spray Painted Fan To Ceiling Fan Makeover Ceiling Fan Diy Diy Ceiling

Ypxolyh Zfqnm

Step 6 look for wires coming from the bottom of the ceiling fan motor and trace them back the wires leading from the ceiling.
How to take down a ceiling fan without screws. The canopy covers the ceiling fan mounting bracket and the electrical box in the ceiling. Removing a flush mounted ceiling fan. However after removing the light fixture and switches i can not find a way to remove the fan or fan motor from the ceiling fixture.
I want to remove it to replace it with a new one. Climb a stepladder to reach the canopy trim ring at the top of the canopy where the ceiling fan attaches to the ceiling. Put the screws back into the electrical box to make sure they don t get lost.
The only screws are on the top of the fan housing 3 from the ceiling where i can not get a screwdriver. Be sure to turn off the electric going to the circuit that you are working on. Unscrew them and remove the bracket.
Flush mounted fans need to be taken apart more before they can be take from the. We have more ti. I go through the steps to remove a direct connect ceiling fan.
I have a old hampton bay flushmount ceiling fan in a bed room. While some models will allow you to take the fan body off the ceiling without removing the light kit most flush mounted ceiling fans require that it is removed so that you can get to the screws that attach the whole fan to the ceiling. The canopy trim ring covers the canopy screws to give the ceiling fan a sleeker appearance.
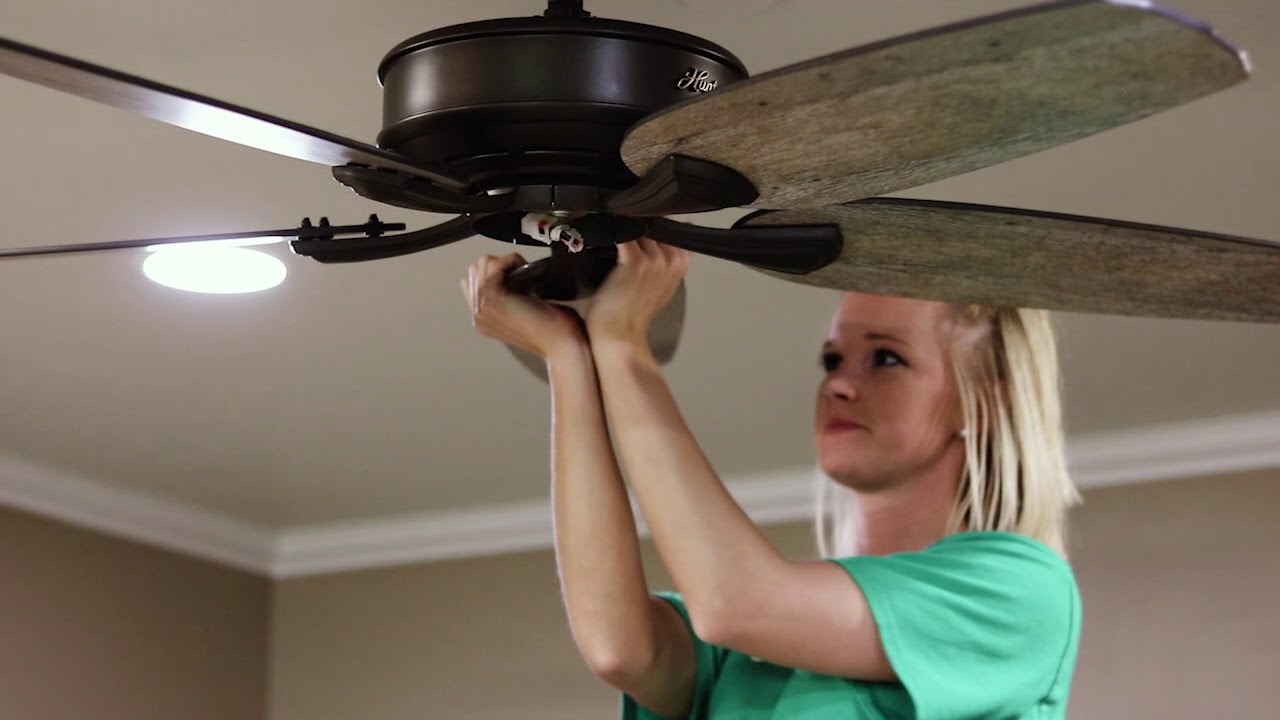
Remove the remaining screws and pull down the canopy. Remove a couple of the screws and hold the canopy to the ceiling with one hand to avoid the motor falling to the ground. The steps for this are slightly different from the previous type of fan.

Diy Old Ceiling Fan Refresh Ceiling Fan Makeover Ceiling Fan Diy Ceiling Fan Redo

How To Stop A Ceiling Fan From Wobbling Ceiling Fan Balance Ceiling Fan Ceiling Fan Bedroom

My Diy Projects Ceiling Fan Updates Diy Remodel Easy Home Decor Diy Home Improvement

Very Fond Of Fan Facelift Ceiling Fan Makeover Diy Ceiling Diy Lamp Shade

How To Paint An Old White Ceiling Fan A Diy Update White Ceiling Fan Ceiling Fan Diy Ceiling Fan
